
5.1.4 Creating your first program
This example creates a user-defined program that waits for 30 seconds and then ends. It demonstrates how to add and configure actions, connect them, generate code, and validate the result.
- Open the Visual Programmer. A new workflow starts with the Start block.
- In the Blocks tab, locate F3 – Delay and drag it onto the canvas below Start.
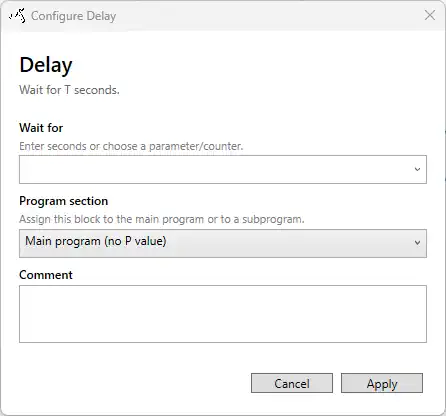
- In the configuration window, set Wait for to
30seconds. Leave Program section set to Main program (no P value). Add an optional comment, then select Apply.
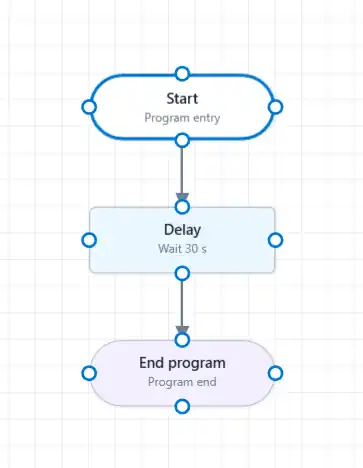
- Drag F1 – End program from the Blocks tab onto the canvas below the Delay block. Retain the main-program setting and select Apply.
- Connect the lower port of Start to the upper port of Delay.
- Connect the lower port of Delay to the upper port of End program.
- Confirm that the connections show the intended execution order.
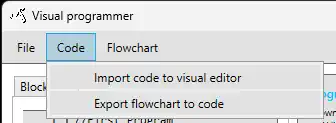
- Open the Code menu and select Flowchart to code.
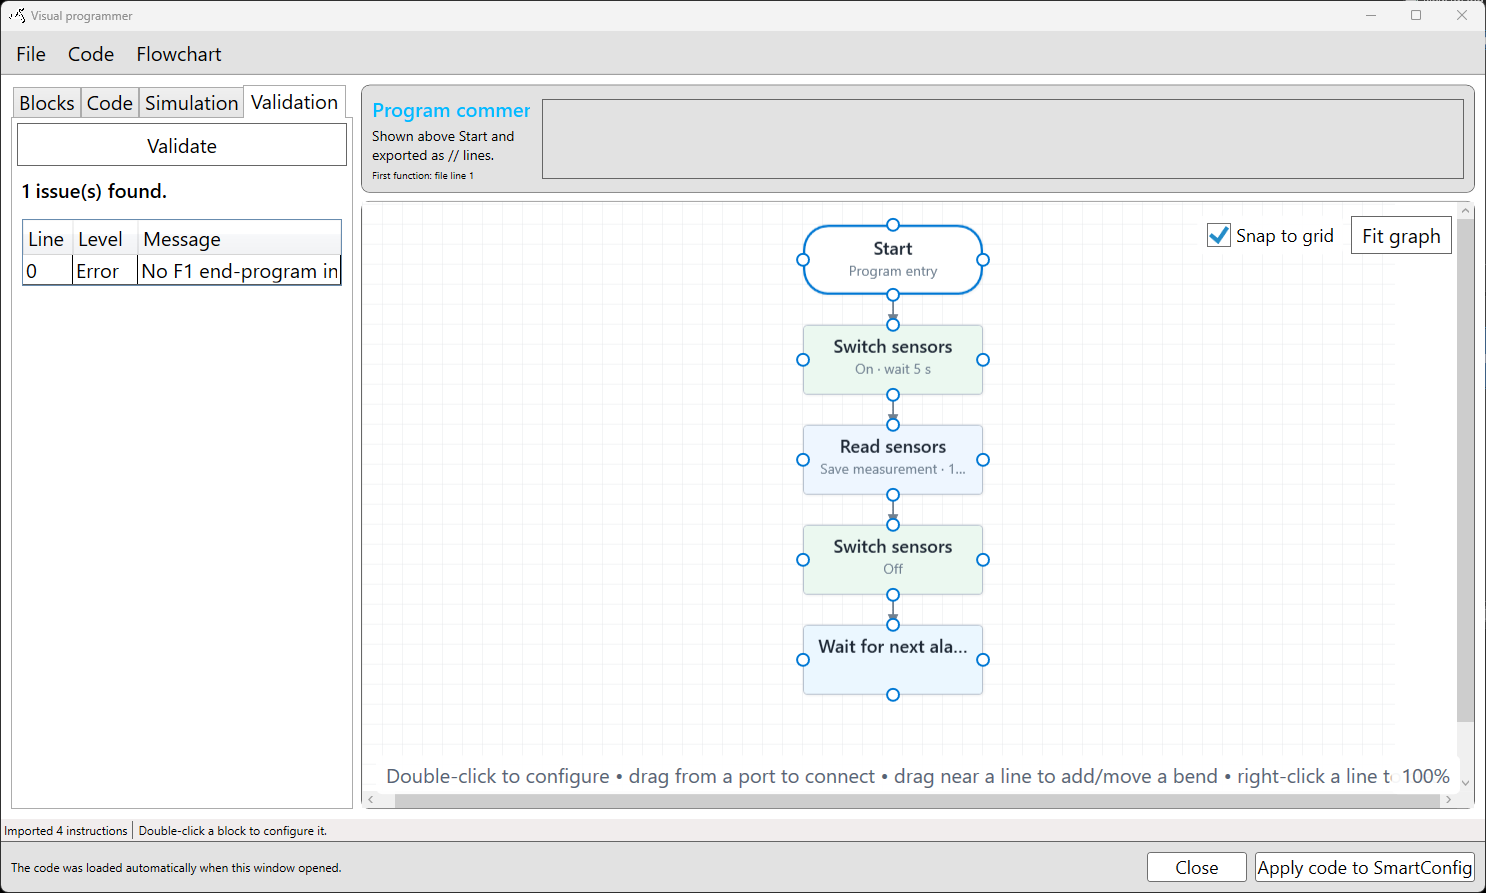
- Open the Validation tab and select Validate. Confirm that there are no errors requiring correction. If an issue is reported, double-click the relevant block, correct its settings, and validate again.
- Select Apply code to SmartConfig2 to return the generated program code to SmartConfig2.
Resulting program flow
When the user-defined program runs on a SmartSampler2, execution starts at Start, waits for 30 seconds at F3 – Delay, and then reaches F1 – End program. This example does not read sensors, switch outputs, or transmit data.
Before configuring a connected SmartSampler2, follow the documented USB connection and cable guidance in SmartSampler2 hardware interfaces.
Related hardware: SmartSampler2 hardware reference.