
5.1.11 Validation and troubleshooting
Validate a user-defined program
Before validating a visual program, select Code → Flowchart to code to generate program code from the current workflow. You can also select Code → Validate code from the Visual Programmer.
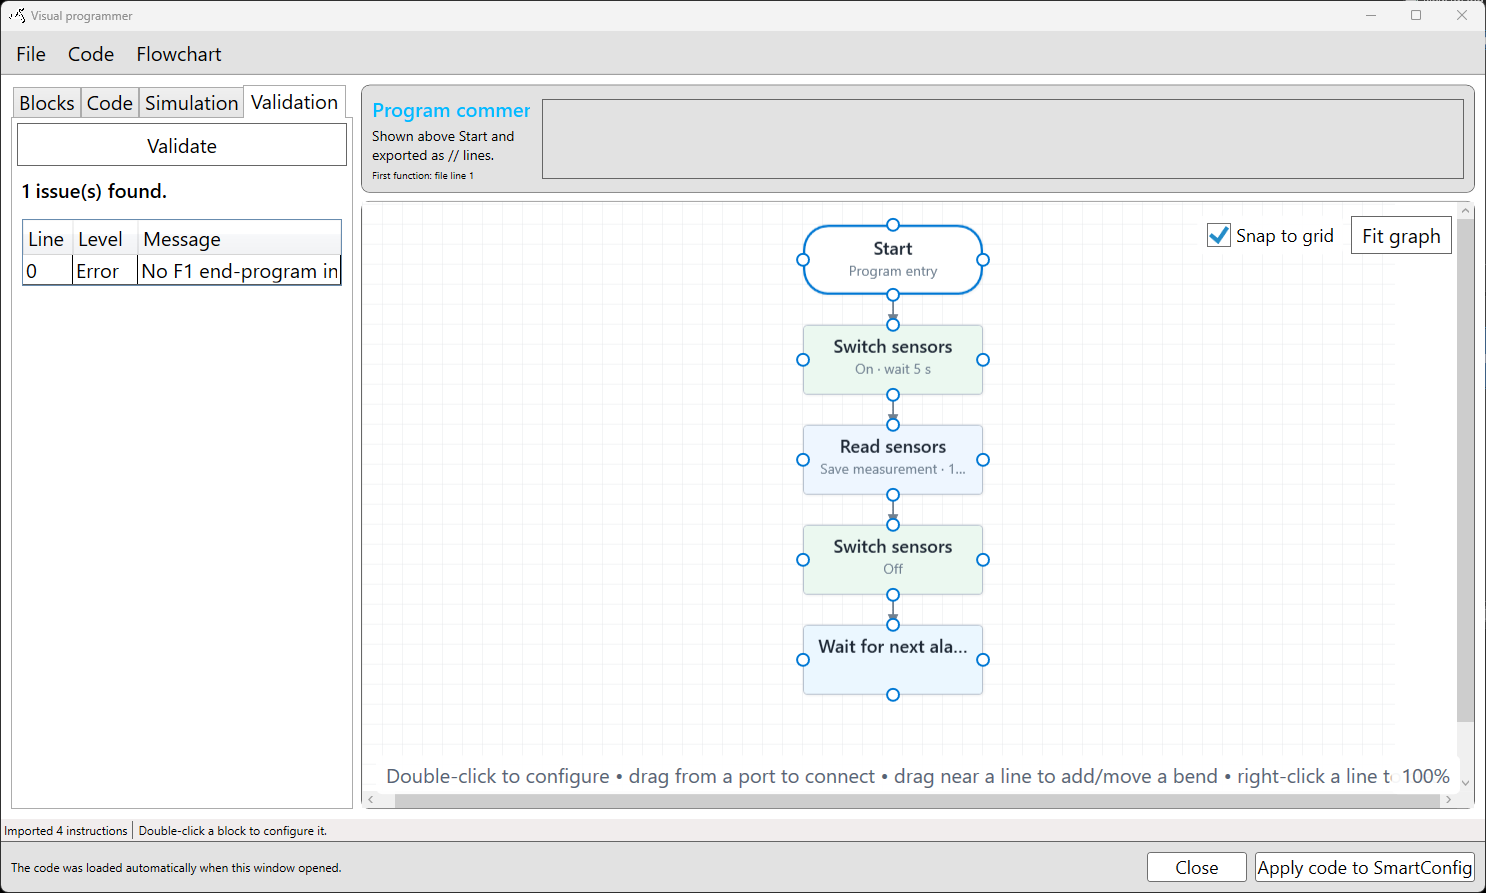
SmartConfig2 checks the generated user-defined program for recognised structural and configuration issues. These checks include an empty program, a missing F1 – End program instruction, required or unsupported parameters, invalid numeric ranges, invalid runtime placeholders, unsupported connections, subprogram references, formula syntax, and formula data positions.
After selecting Validate, the Validation tab displays the issue count and a results table with these columns:
- Line: The associated program line.
- Level: The issue severity, such as Error or Warning.
- Message: A description of the issue and, where applicable, the value or range that must be corrected.
When no recognised issues are found, SmartConfig2 reports that validation passed. A successful static check does not prove that the program will produce the intended result on every connected sensor or module, so also use Simulation and perform appropriate device checks.
Resolve validation issues
Correct the reported problem in the relevant block or connection, select Code → Flowchart to code again, and validate the updated program.
- If the program has no F1 – End program instruction, add an End program action and connect it into the intended code flow.
- For a required parameter, unsupported parameter, or range error, open the block configuration and enter a supported value.
- For a jump error, check whether the target is a connected block or a fixed or dynamic line value. Confirm that the target is valid for the generated program.
- For a subprogram error, check that the requested subprogram number is from 1 to 254 and that an instruction is assigned to the matching program section.
- For a formula error, open the formula editor, correct the expression, and select Test formula. Formula data positions are one-based; use
0for an unused input.
Comparisons use normal Code flow. When an F16 comparison is true, its configured subprogram is activated and execution continues through the normal code order; it does not require separate Yes and No firmware branches. See Conditional execution and sub-programs.
Check program behaviour with Simulation
Open the Simulation tab to investigate behaviour without applying the program to SmartSampler2. Use Reset, Step, Run, and Pause to inspect execution. You can supply simulation data and supported user values, then review the active action, execution log, temporary values, pulse counters, active subprogram, and formula result.
Simulation is especially useful for checking code order, jumps, comparisons, subprogram activation, formula inputs, and timing actions. See Simulation.
Check the connected SmartSampler2
If the program behaves as expected in SmartConfig2, select Apply code to SmartConfig2 if it was created in the Visual Programmer. Then review the generated code and select Save in Basics → Program to store it in the connected SmartSampler2. See Saving, loading, and applying a program.
Confirm the configured trigger, sensor, module, and output settings. If SmartConfig2 does not show the expected device information, check the USB connection and use the documented connection procedure. SmartSampler2 uses a Mini USB-B connection; use the originally supplied cable when a watertight connection is required and do not overtighten its waterproof screw connector. See SmartSampler2 hardware interfaces.
For physical checks, inspect the status LED, connectors, cable ends, fuses, wiring, and sealing. Keep the housing and connectors free from dust, salt, and debris. If internal condensation or water ingress is visible, disconnect the unit immediately and follow the maintenance guidance. See SmartSampler2 diagnostics and maintenance.
Related hardware: SmartSampler2 hardware reference.