
5.1.13 Example programs
Build a program from a blank flowchart
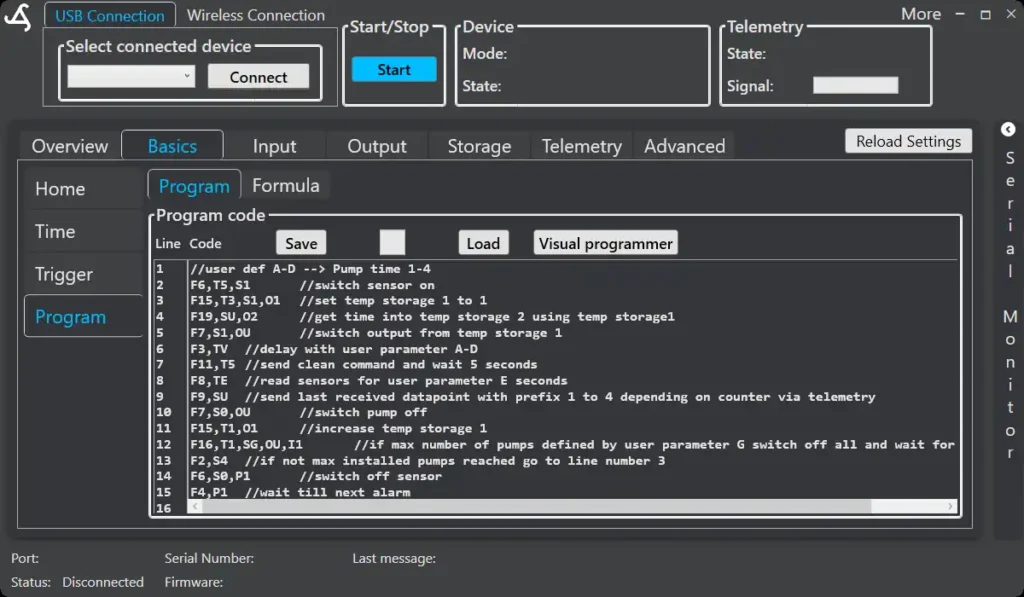
Open the Visual Programmer from Basics → Program by selecting Visual programmer. To clear the current design and start again, select File → New program…. A new design contains a Start block.
Drag actions from the Blocks list onto the canvas. Configure an action by double-clicking it, then connect the blocks through their ports in the required code order. The available actions include timing, sensor and module control, sensor readings, telemetry, cleaning commands, formulas, temporary storage, pulse counters, comparisons, jumps, and subprograms.
Suggested example workflow
The following sequence is a general starting point for testing a simple sensor program. Adapt the actions and values to the connected SmartSampler2 hardware and sampling objective.
- Add Switch sensors and configure the sensors to turn on.
- Add Delay to allow the sensors to settle.
- Add Read sensors and choose whether to save the measurement. Configure an optional telemetry interval only when supported by the action and required for the program.
- Add Calculate formula when a derived value is required. Select the input positions from the latest comma-separated sensor-data string and select Test formula in the formula editor.
- Add Send data to transmit the latest sensor data, or add Send custom value to transmit a formula result or other configured value.
- Add End program and connect it as the final action in the intended code flow.
For action parameters and supported values, see the function reference.
Inspect, validate, and simulate the example
Select Code → Flowchart to code to generate the ordered program instructions. Open the Validation tab and select Validate. Correct any reported errors, such as a missing end-program action, and validate again.
Open the Simulation tab and use Reset, Step, Run, and Pause to inspect the execution sequence. Simulation can use supplied data and supported user values and can show formula results, temporary values, pulse counters, active subprograms, and the execution log. See Simulation and Validation and troubleshooting.
Save and apply the example
Select File → Save project… to preserve the visual arrangement and connections. Select File → Save code… when you also need a plain program-code file.
When the program is ready, select Apply code to SmartConfig2. The generated code appears in SmartConfig2 but is not yet stored on SmartSampler2. Open Basics → Program, review the code, and select Save to transfer it to the connected device.
Before deployment, verify the configured trigger, sensor, module, and output settings. Perform suitable physical checks using SmartSampler2 diagnostics and maintenance, and use SmartSampler2 hardware interfaces for USB connection guidance.
Related hardware: SmartSampler2 hardware reference.