
5. Sampler Modes
SmartConfig2 provides selectable sampler modes for the SmartSampler2. Select the mode that matches the workflow and connected equipment you are configuring.
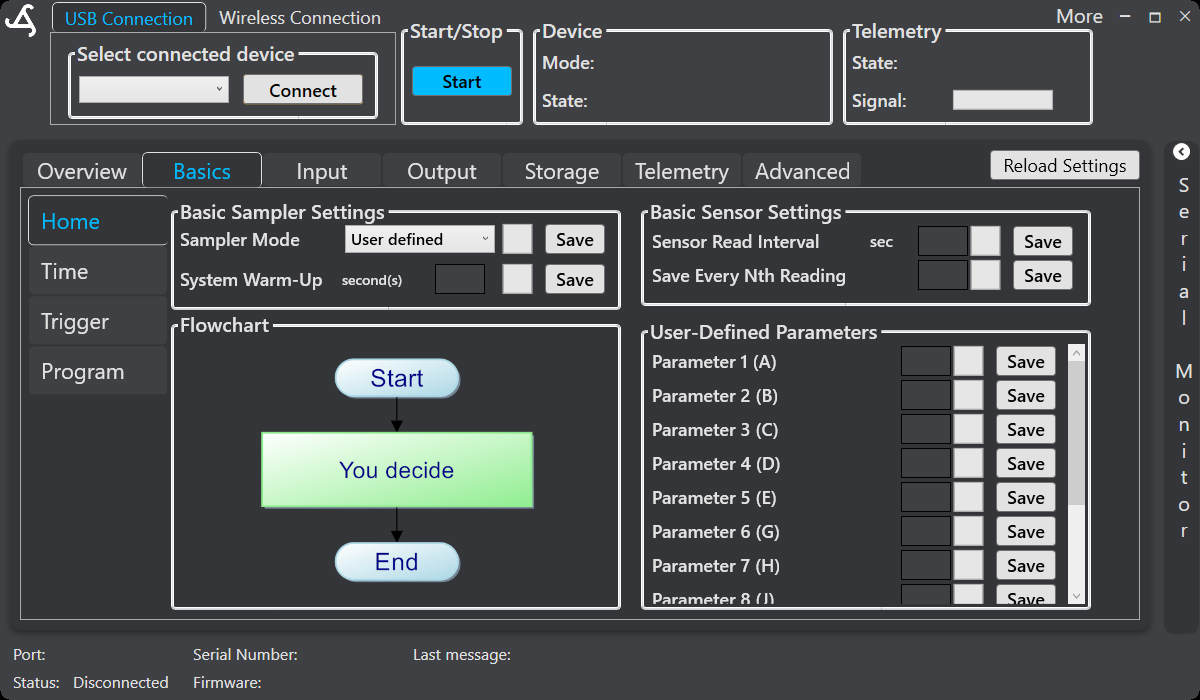
Available modes
- 5.1 User defined: Build a custom sequence in the Visual Programmer. User-defined actions include formulas, timing, sensors, outputs, supported modules, temporary values, counters, comparisons, subprograms, cleaning commands, and data transmission. See User defined.
- 5.2 AquaMate: Configure workflows using connected AquaMate modules. See AquaMate and the verified SmartSampler2 AquaMate hardware documentation.
- 5.3 TreeFlux: Configure TreeFlux sampling and flushing workflows. See TreeFlux.
Selecting a mode changes the configuration sections and module controls shown in SmartConfig2. Connect to the SmartSampler2 first and allow SmartConfig2 to retrieve the device settings automatically. Use Reload Settings only if automatic retrieval did not complete or you explicitly need to refresh the settings.
Configure a mode
- Connect to the SmartSampler2 through the available USB or wireless connection workflow.
- Open Basics > Home and select the required Sampler Mode.
- Configure the settings and module controls shown for that mode.
- Review timing, sensor, output, storage, and telemetry settings that apply to the workflow.
- For a User defined mode, create or review the program in the Visual Programmer, then validate and simulate it before applying the code.
- Confirm the connected hardware and operating sequence before field deployment.
The startup warm-up period allows the SmartSampler2 system and telemetry to initialize before the actual sampling or operating program begins. The warm-up countdown completes before the program starts, and sensors are usually not switched on during this startup period.
For hardware checks before field use, see SmartSampler2 Diagnostics & Maintenance. For supported module capabilities, see the verified SmartSampler2 Expansions documentation.
Related hardware: SmartSampler2 hardware reference.