
2. Getting Started
Install SmartConfig2 on a supported Windows computer, then connect to SmartSampler2. The application normally retrieves all device settings automatically after a connection is established. Use Reload Settings only if that automatic retrieval does not complete.
2.1 Install SmartConfig2
- Download the current SmartConfig2 installer from the download area.
- Complete the installation and start SmartConfig2.
- Keep SmartSampler2 connected to stable power while configuring it.
2.2 Connect through USB
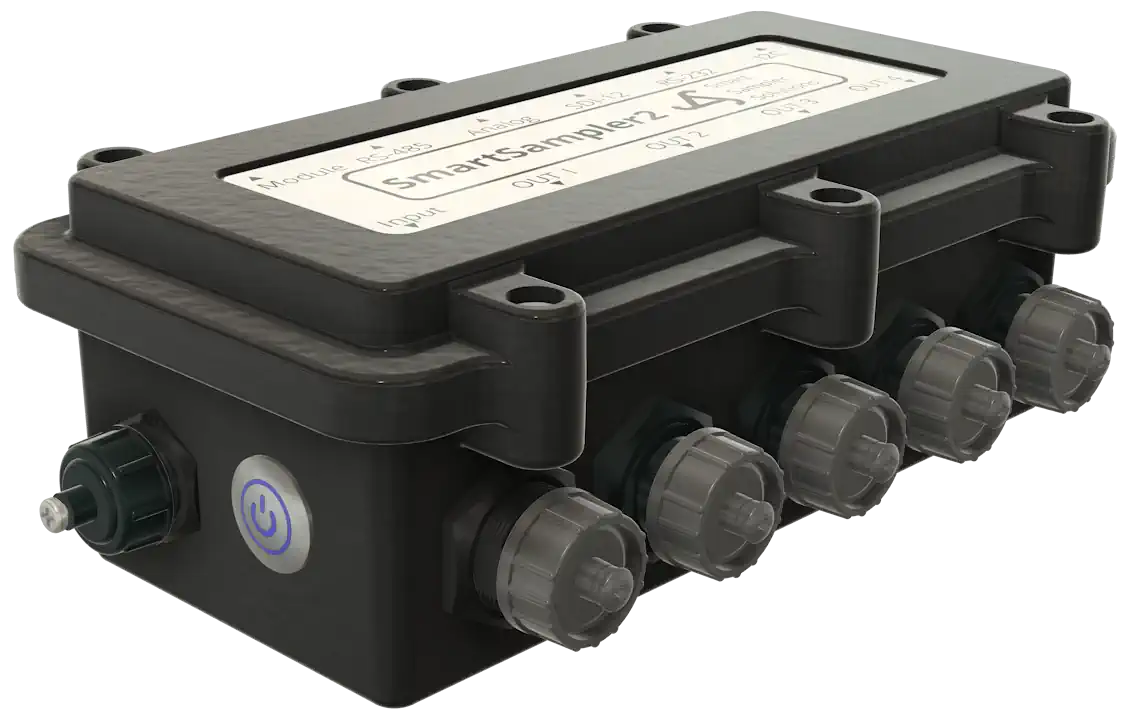
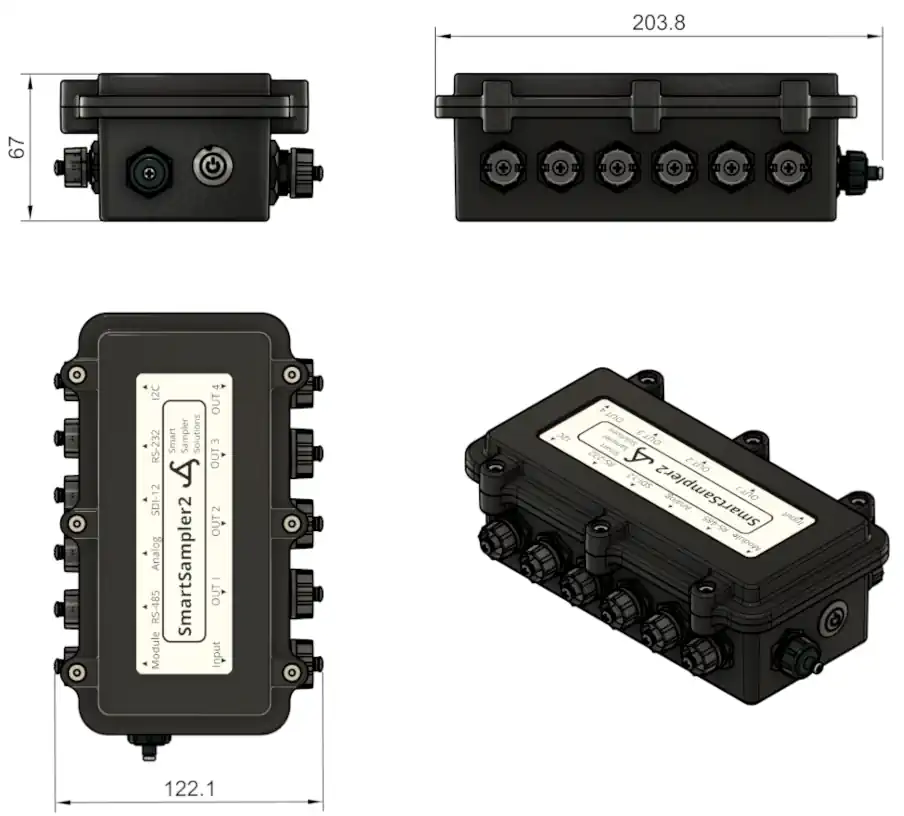
Use the external USB connector on SmartSampler2 for a direct SmartConfig2 connection. The connector is on the enclosure side shown below.
- Connect SmartSampler2 to a stable power supply.
- Connect the supplied USB cable between SmartSampler2 and the computer. When a watertight field connection is required, use the supplied waterproof connector and tighten it by hand only.
- Open SmartConfig2 and select the detected SmartSampler2 connection.
- Select Connect.
- Wait while SmartConfig2 retrieves the settings from SmartSampler2.
If the device is not detected, check the power supply, cable, connector seating, and Windows device connection. For connector and electrical details, use the verified SmartSampler2 hardware interfaces.
2.3 Connect wirelessly
A wireless connection is available only when the SmartSampler2 system has the supported LTE telemetry hardware and the connection service has been configured. SmartConfig2 communicates with the device through the MQTT broker.
Enter the SmartSampler2 serial number, the assigned username and password, and an alias. The serial number and credentials identify the authorized broker connection. The alias is a local name that you can choose freely to help identify the device in SmartConfig2.
Keep credentials and device identifiers private. Remove them from screenshots and support material unless an approved support process specifically requires them.
2.4 After connecting
Confirm that SmartConfig2 reports the device as connected and allow the automatic settings transfer to finish before editing configuration. Then open the required area: Overview, Basic, Input, Output, Storage, Telemetry, or Advanced.